
Hi everyone,
With some seasonal colds slowing us down, we're a bit delayed in writing up our Week 4 and Week 5 battles in our League over at Game Kastle in Fremont. So, decided to write them up in one joint posting.
Week #4:
- (Yay!) Borrowed Mr. Z's Stompa! (His paint job looked extremely cool with the Pink and Yellow Orky Orks)
- (Oh-no!) Played against Mr. L's Tau and their lethal void-missile launching base

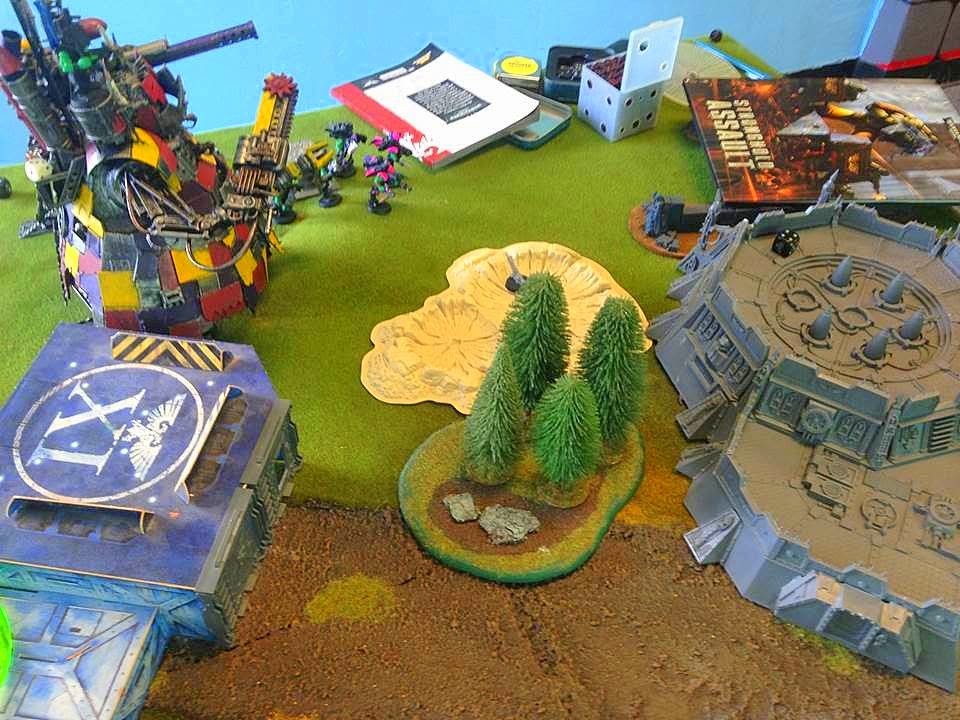
Here is Mr. L's Stompa with our Morkanaut, Burna Bommer and Battlewagon!
The Battle:
We used the Great Waaagh! Detachment - and got Deep Strike on our Big Mek and also on one unit of Boyz. Bummer that we didn't get it on the Stompa!!!
So, we lined up with our forces to prepare to charge in and attack Mr. L's missile building. One additional bummer for us is that we need to charge the long way. But, with the Stompa's move distance, we feel pretty good that we can get there.

Our initial lineup: Trukk on near side; Morkanaut and Battlewagon up the middle; Stompa up the right....
Mr. L fires his void missiles right away. And, that's when we learn the bummer of those missiles. The void spots they create stay on the board unless doubles are rolled - and keep scattering around!

Moving toward the missile battery...

The first of the void missile shots chasing the Stompa after it's already hit it once!
We get finally get the Stompa pretty close to the missile battery - and have our deep strike units landing very close as well. Looking very good for the Ork-guys at this point!
The Stompa has almost reached range to use its massive close-combat weapons! Just one more turn will do it!
What happens? Well one of those void spots chases down the Stompa and literally clips it on the right heel. Of course a massive explosion results when the Stompa explodes (not good!).... But, we press on. The Tau may have killed the Stompa - but the Morkanaut and Battlewagon are now very close.

It's uncanny how the void thingies keep chasing after the Ork's most powerful unit. Now they are "randomly" chasing after the Morkanaut!
Finally, we're down to a reduced set of forces. The Morkanaut is out. And our remaining forces have reached the Tau's base. There is a key moment where if the game ends, the game will be a draw....

Our remaining forces reach the Tau's base....
...But, the die does not roll in our favor. There is one more turn, and we simply do not have the forces needed to make it a victory. Mr. L's Tau win.
Week #5:
- (Yay!) Prepared models to run the Council of Waaagh! We had read that this created quite a hard-core death-star like unit.
- (Oh-No!) Played against Mr. M's Space Marines. Very tough to get our units close enough to hurt him with his lethal long-range shots!

We set up our forces to march forward toward Mr. M's Space Marines. His drop pods landed inside our ranks....
Mr. M had brought several tank units. He held these back and fired away. Our goal was to close-in with the Morkanaut and the Battlewagon - to try to cause impact up-close. We had the Council of Waaagh! in the Battlewagon - so that they could shoot from the fire-points as we advanced.

Sending the Morkanaut up the middle....
There was a little bit of excitement on the left flank as our Warbikers challenged Mr. M's bikes.

Bikes vs. bikes on the left flank
This skirmish didn't go very well for us, though. And, the assemblage of AP1 weapons the Space Marines brought to the table quickly wiped out the Morkanaut and the Battlewagon.
The showdown between the dropped-in Dreadnought and the squad of three Killi-Kans didn't go very well for us. Six wounds plowed through them in short order.

One Dreadnought vs. Three Killi-Kans. (Didn't go very well for us....)
So, this left few options. We tried to immobilize the Land Raider with a sacrificial run using the Trukk. (It seemed worth a try - but didn't really work out)....

The Pink Orks Trukk takes on the Land Raider!
And, so, the Council of Waaagh! was basically left on its own - and gradually whittled down.... Darned good thing they had Fearless with that Waaagh! banner - they did hold on for a while. But, eventually they lost their Feel No Pain and quickly succumbed.

The Council of Waaagh! sucked up lots of damage - but is finally wiped out....
Not sure if the Orks have any connections with Imperial or Rebel forces -- calling in forces from Long, Long Ago and Far, Far Away seemed like the only way this battle could have turned around :)

The Orks' only option - call for help!
Big lessons in Weeks 4 and 5!
- There must be truth to "More Boyz, Less Toyz". A single shot from an AP1 weapon wipes out some 250+ points of Morkanaut. The same shot could not have done the same to 250+ points of Ork Boyz....
- Spent quite a bit of time chatting with Mr. M about the ability of a certain number of units or points to suck up incoming fire.
- Seems like quite an opportunity to analyze the statistical probability of a unit actually successfully taking that incoming shot (and living through it and perhaps taking another one) on a per-point-basis!
- Council of Waaagh! was fun to put on the table -- but didn't yield great results.
- The Great Waaagh! Detachment is a bit random -- but created some fun opportunities for us with the Tellyporta Strike.
Love seeing the orks in action. I'm really hoping that in the future, walker rules are revised so that they can't be 1 shot. It is a shame to watch those beautiful ork walkers get removed by single lucky shots. :(
ReplyDelete